The Internet Information Server feature must be installed on any server that you are deploying RapidIdentity MFA to. Below are the steps to installing IIS and its required features.
-
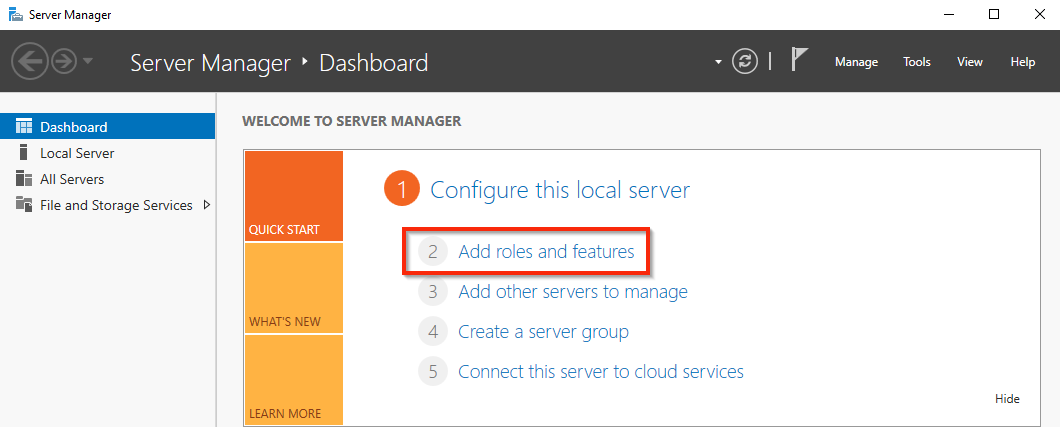
Open your Server Manager.
-
In middle of the Server Manager dashboard, click on Add roles and features.
-
The Add Roles and Features Wizard will appear. If it brings you to the Before You Begin page, click Next.
-
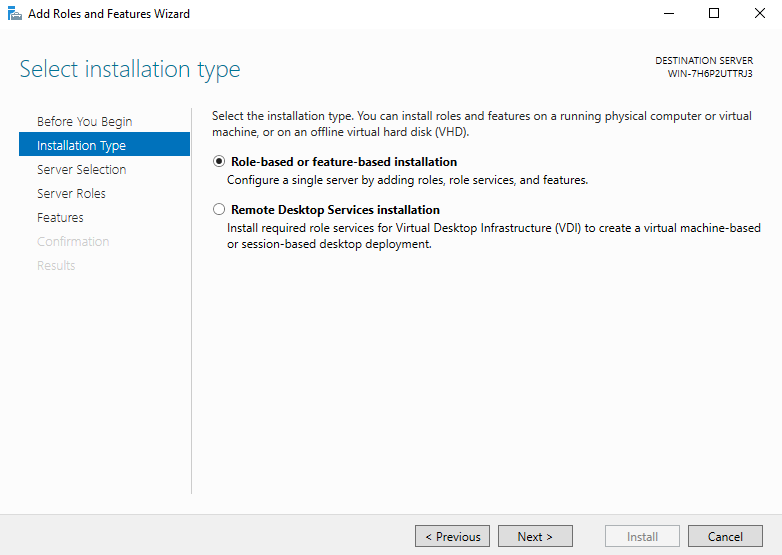
On the Installation Type page, select "Role-based or feature-based installation".
-
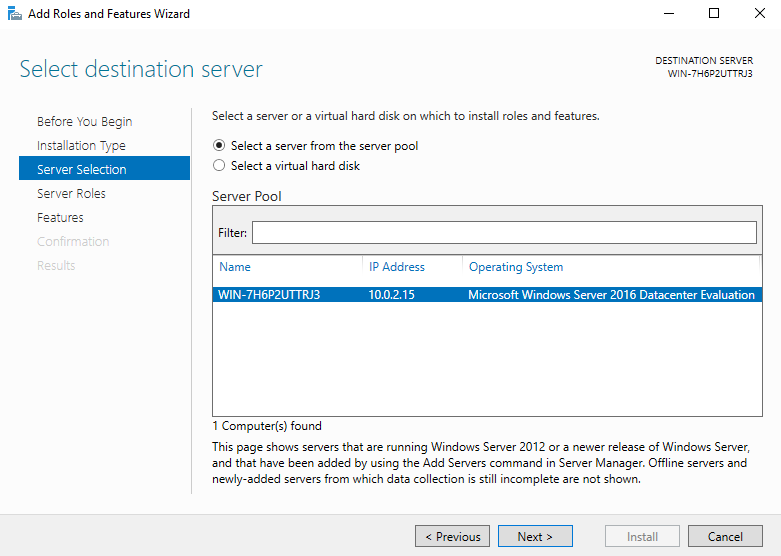
Within the Server Selection menu, check the Select a server from the server pool and select the server name that you're installing to, and click Next.
-
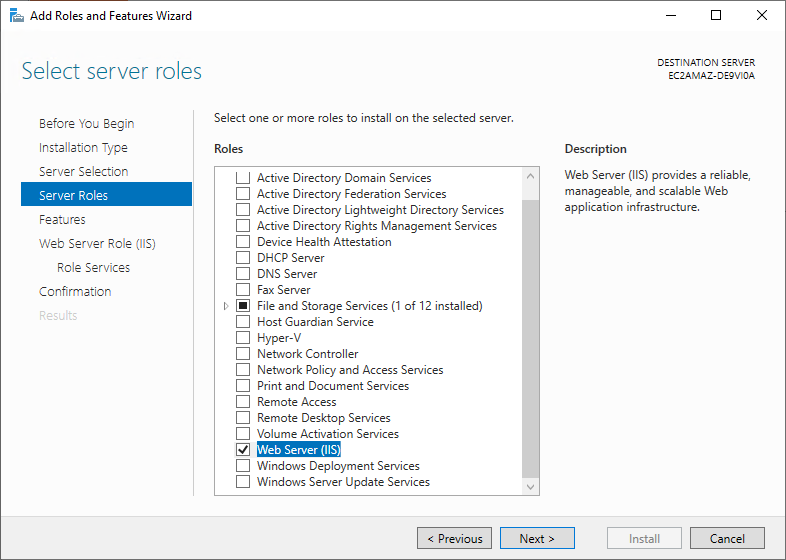
In the Server Roles menu, scroll down to select the Web Server (IIS) box. Checking this box will trigger a secondary window to pop up. In this new window, click Add Features. Click Next to move the Features page.
-
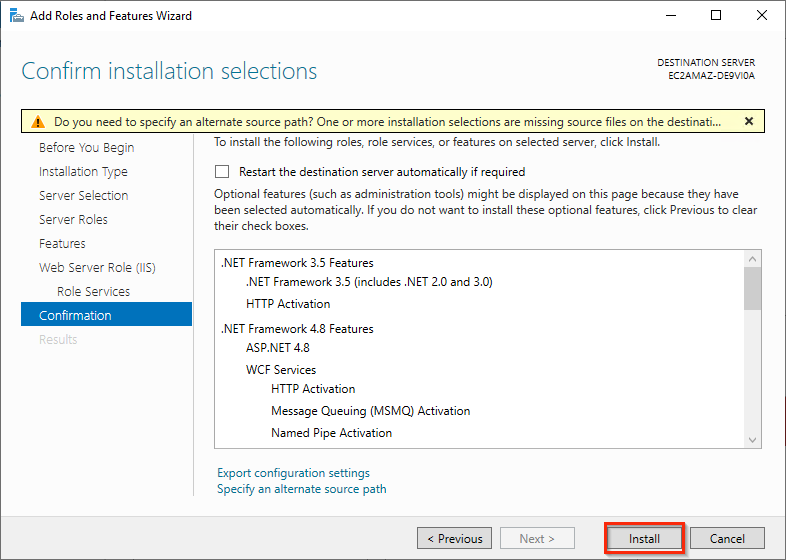
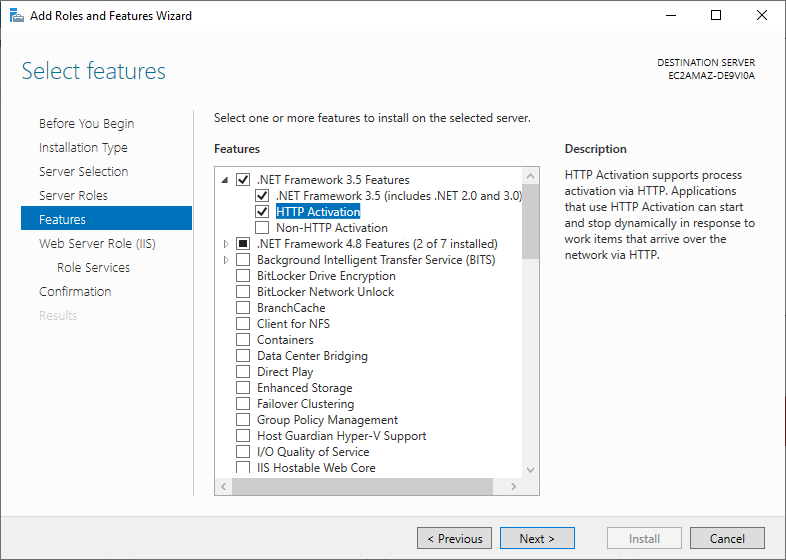
In the Features page, expand .NET Framework 3.5 Features and check the HTTP Activation option. A secondary window will pop up. In this new window, click Add Features.
-
Expand .NET Framework 4.8 Features and check the following options:
- HTTP Activation
- Message Queuing
- Named Pipe Activation
- TCP Activation
Click the Add Features button for any pop-ups.

-
You should see a new Web Server Role (IIS) section on the left-hand side. Go to the new Role Services page underneath it.
-
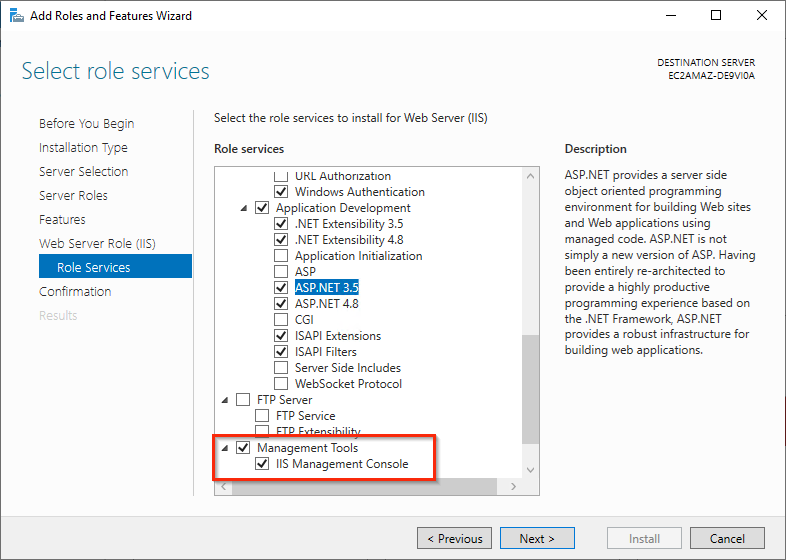
In the Role Services page, scroll down to the Security section. Check both the Basic Authentication and Windows Authentication options.

-
Under the Application Development section, check ASP.NET 3.5.
-
Under the Management Tools section, verify that IIS Management Console option is checked. Click Next when you're ready to proceed to the installation.
-
On the Confirmation page, click Install. A restart is not required after these installations.