
Part 1 - Duplicate Smartcard Template
- On your Certificate Authority server, launch the Certificate Authority tool.
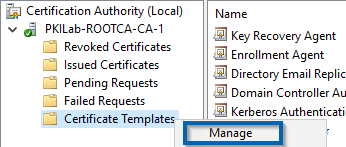
- Expand your server's name and right-click Certificate Templates > Manage.
- A new window, Certificates Templates Console, will open. Scroll down until you find the template name "Smartcard Logon".
3a. Right-click the template > "Duplicate Template".

-
A new pop-up will appear; this is where the enrollment and logon settings will be edited.
4a. Compatibility tab: Set the Compatibility Settings to the latest server option available for both Certification Authority and Recipient.
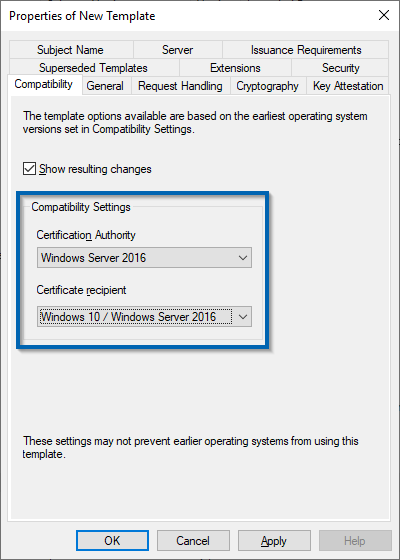
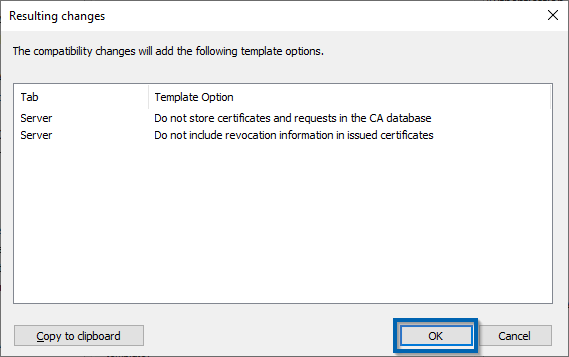
A prompt will appear for each setting. Click 'OK' for both.
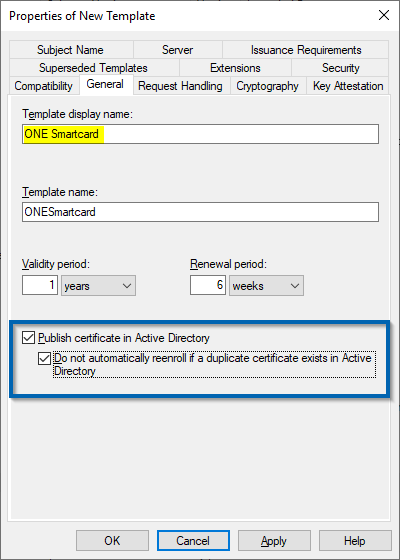
4b. General tab: Edit the name of the template and check (✓) Publish certificate in Active Directory and its sub-box.
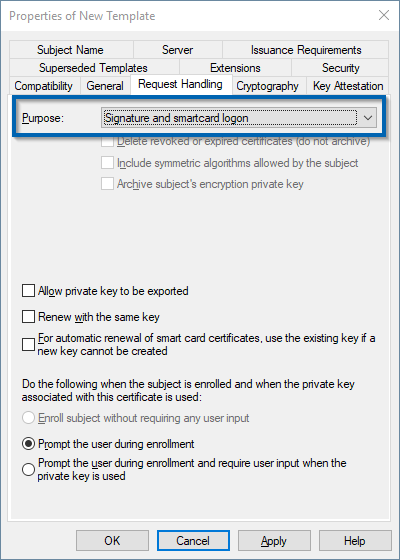
4c. Request Handling tab: Set Purpose to "Signature and smartcard logon".
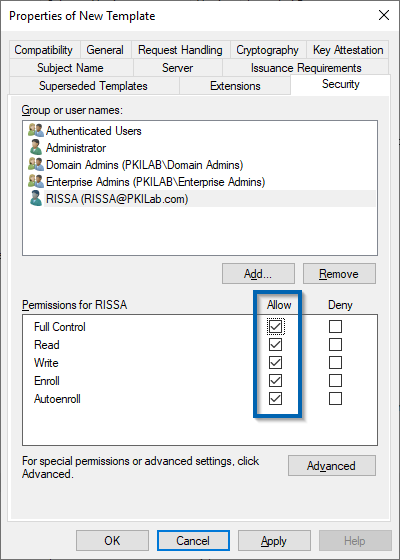
4d. Security tab: "Add" your Service Account to the users and give it full control over the template.
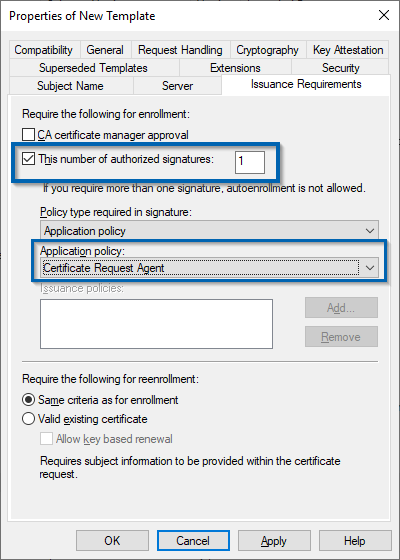
4e. Issuance tab: Check (✓) This number of authorized signature and set equal to 1. For Application policy, drop down and select "Certificate Request Agent".
4f. Your setup is complete and can click "OK". Don't close out of the Certificates Templates Console yet for Part 2.
Part 2 - Enrollment Agent Certificate
-
In the Certificates Templates Console, scroll to and find the "Enrollment Agent" template.
-
Right-click "Enrollment Agent" > Properties.
-
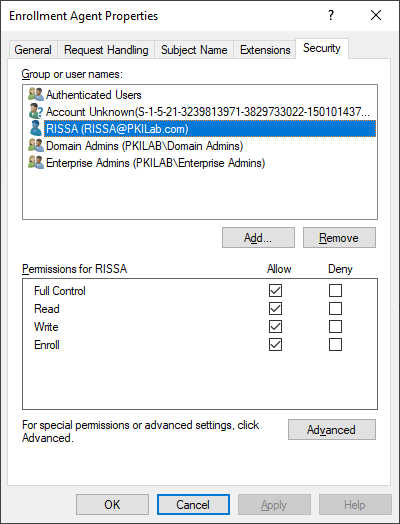
Go to the Security tab.
3a. Add your Service Account to the users and give it full control.
3b. Click "OK".
-
Close out of the Certificates Templates Console.
Part 3 - Issue The Certificates
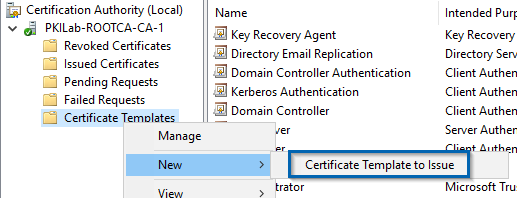
- In your Certificate Authority, right-click Certificate Templates > New > Certificate Template to Issue.
-
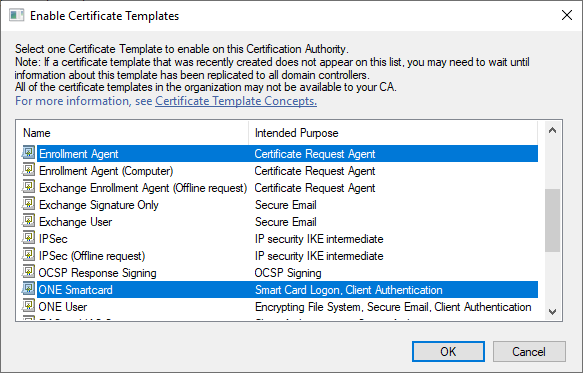
Select both the Enrollment Agent and ONE Smartcard templates by holding Ctrl and clicking each template. Click "OK".
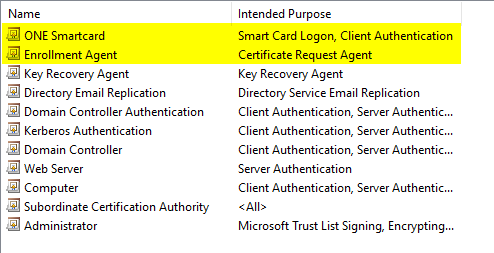
The templates should appear in your list of templates.
Part 4 - Server Properties
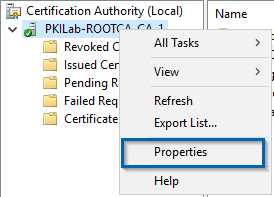
- In your Certificate Athourity, right-click your server name > Properties.
-
A new pop-up will appear.
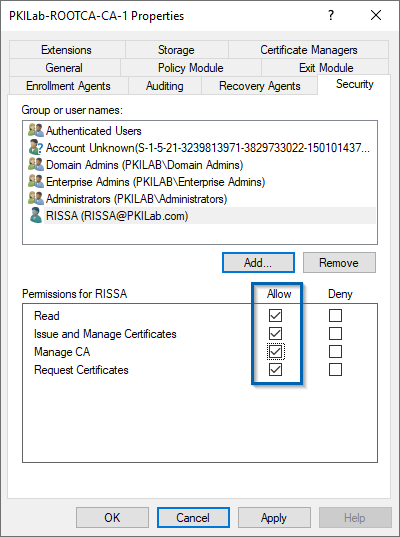
2a. Security tab:
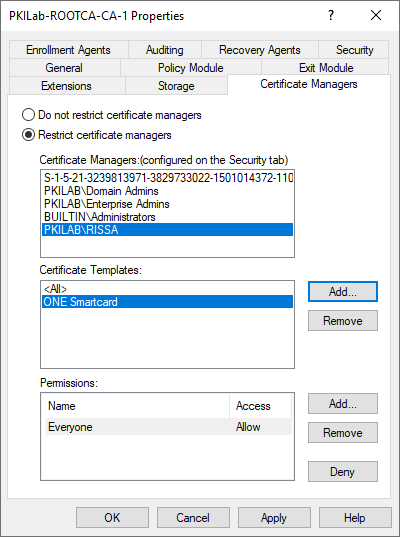
2b. (Optional) Certificate Managers tab: Select Restrict certificate managers, highlight your Service Account, and click "Add" to choose your smartcard template.
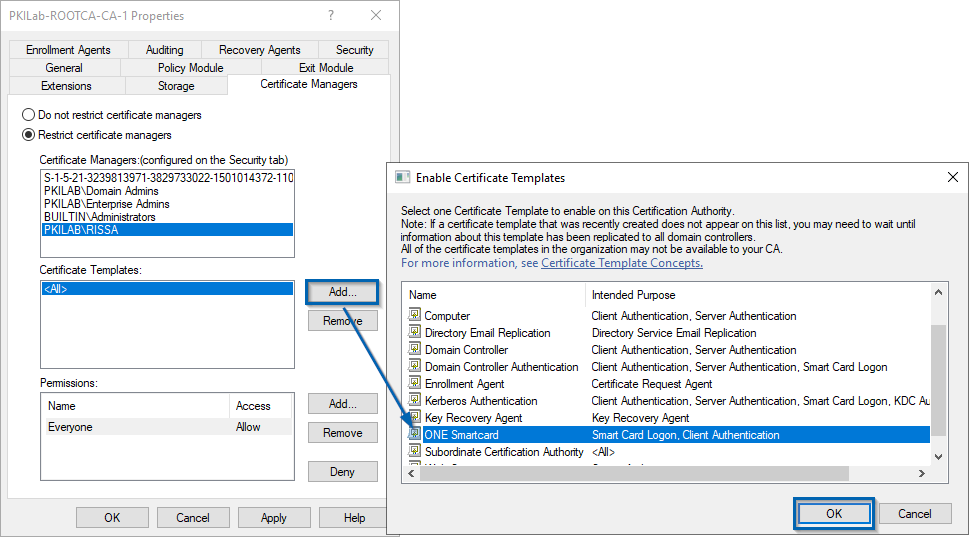
You should see your certificate appear in the templates section.
2c. Click "OK" to close the Properties window.