Here we'll be creating the "Managed Service Account" which will have the necessary permissions needed by the MFA system to connect MFA to AD.
Part 1 - Create User In AD
-
Open Active Directory and Users.
-
Navigate to Domain > Managed Service Accounts.
-
Right-click “Manage Service Accounts” > New > User.
-
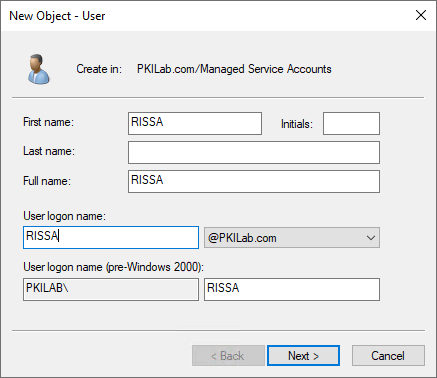
Name the user something referring to MFA/2FA (for easy recognition). It's not required to have all of the fields filled out. In these examples, the name of the account is just "RISSA" (short for RapidIdentity Service Account).
-
Set the password to "never expire".
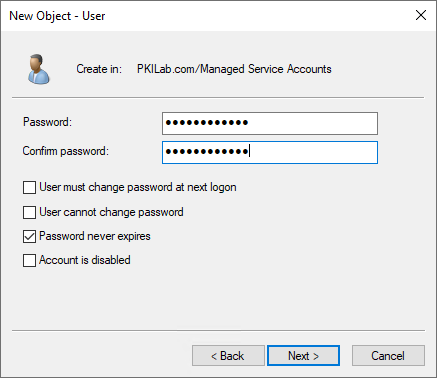
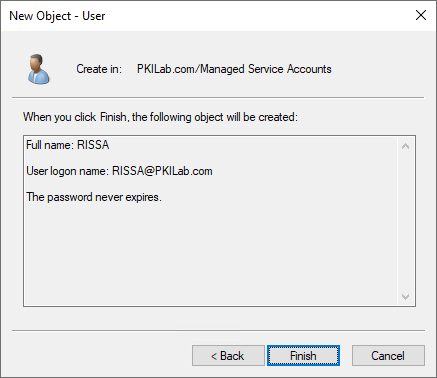
Confirm everything on the last screen, and click "Finish".
Add User to Server Operators
-
Double-click on your new account (or right-click > Properties) to open the Properties window.
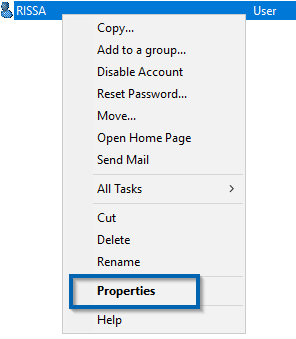
-
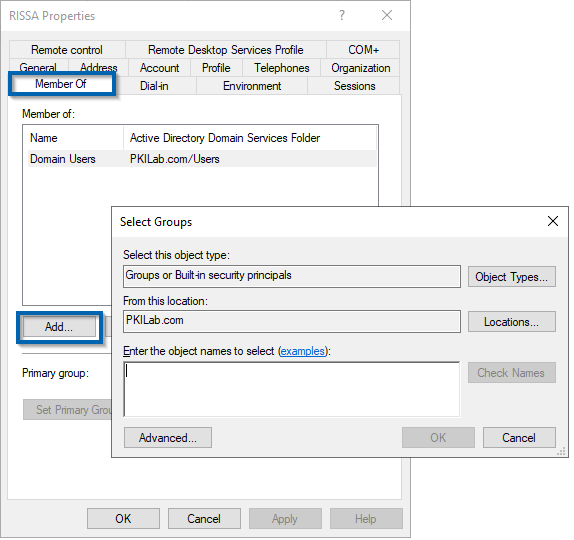
Click on the Members Of tab.
2a. Click "Add". This will bring up a new window.
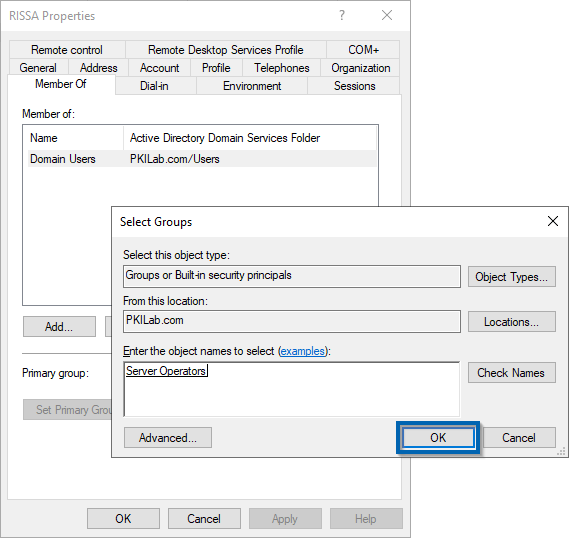
2b. Type "Server Operators" into the box and click "Check Names". It should resolve and underline Server Operators. Hit "OK".
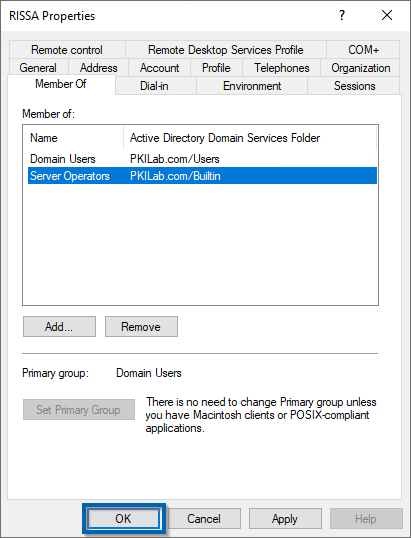
2c. You should see your account as a member of the Server Operators. Click "OK" to complete this step in the account creation.
Part 2 - Add User to the Admin Portal
-
Log into your MFA Admin Portal.
-
Go to the Methods tab.
-
On the left-hand side, click on Active Directory.
-
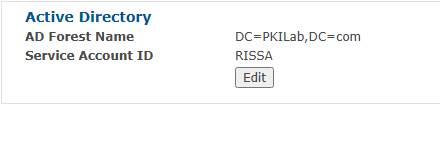
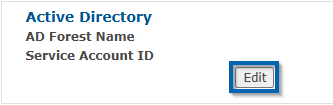
In the middle pane, you'll see an option to edit the Service Account. Click "Edit".
4a. The AD Forest Name box should automatically populate. You should just need to provide the service account's name and password that you created in the Active Directory Service Account Setup, and click "Save" when done.
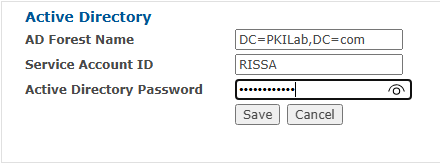
4b. It should look like this when it saves.