
When setting up smart card authentication set(s), it's possible to use the default set, 'Smartcard only', but for the purpose of this article we'll be creating a custom set. This can be helpful for troubleshooting and readability when needing to differentiate between different groups, should they have unique authentication sets.
- In your MFA Admin Portal, go to the Sets tab.
- On the left-hand side, click New Set.
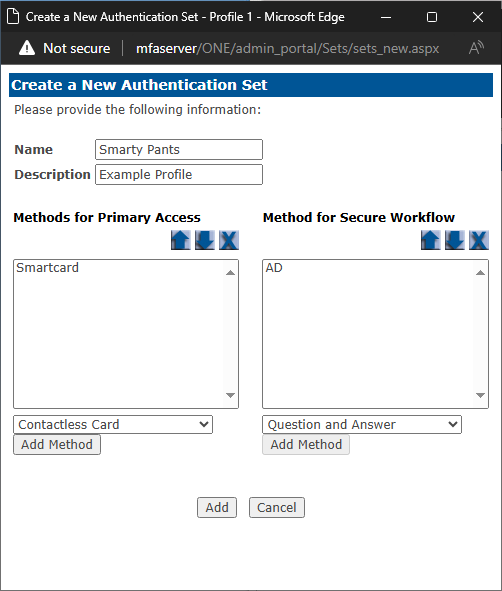
- A new window will appear:
3a. Name the authentication set.
3b. (Optional) Set a description. This example we'll be inserting the name of the profile created in the Create A Smart Card Certificate Set article, 'Example Profile', so we can see at a quick glance what profile is (or will be) attached to the auth set.
3c. Under the Methods for Primary Access section, use the drop-down to select 'Smartcard' and click "Add Method".
3d. Under the Methods for Secure Workflow section, use the drop-down to select 'AD' and click "Add Method".
3e. When finished, click "Add" at the bottom of the window.
-
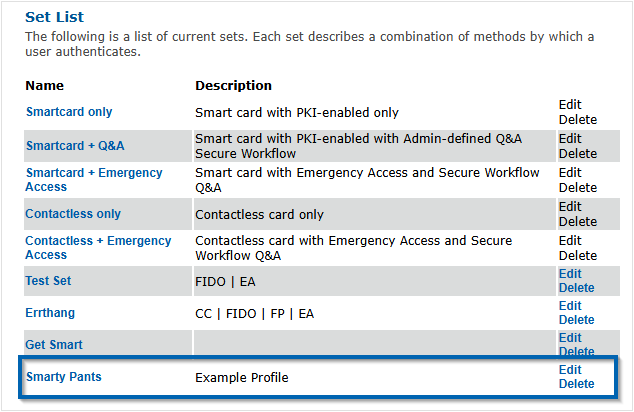
You should see your new authentication set appear in your list of sets.
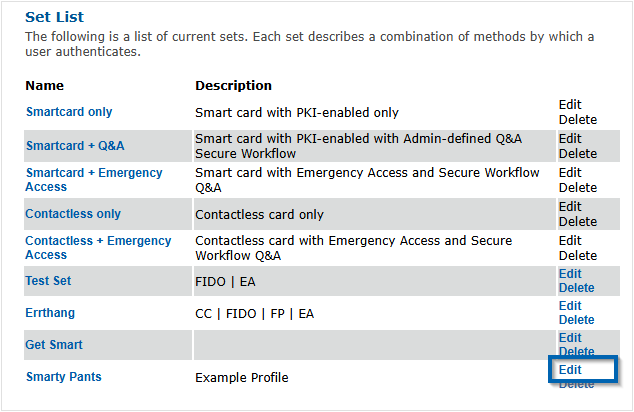
Click "Edit" on the far right-side of your set.
-
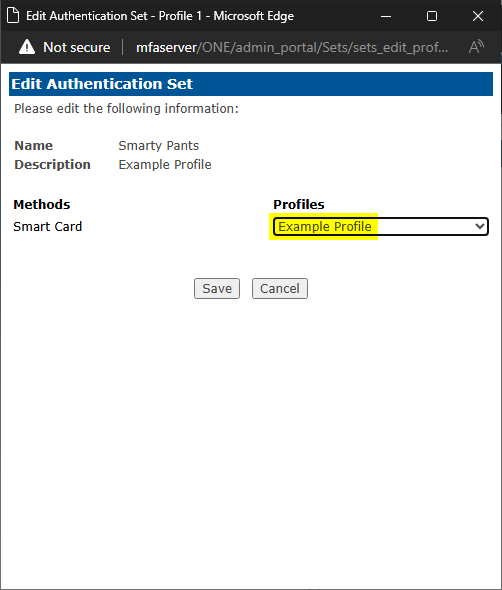
When the edit window appears:
5a. Click "Edit Profiles..."
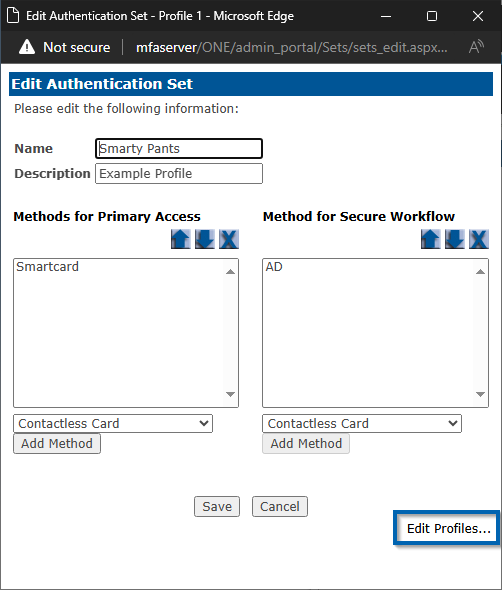
5b. Use the drop-down to select your profile name and click "Save".
- You've completed the authentication set setup and can now assign it to users.