The following steps are used to implement PIN based RBA with the RFID authentication method. This means when a user scans their card, they will be prompted to enter the PIN type associated with their authentication set and will not be prompted to enter their PIN again for the grace period’s set amount of time.
Step 1 - Setting Up The Policy
-
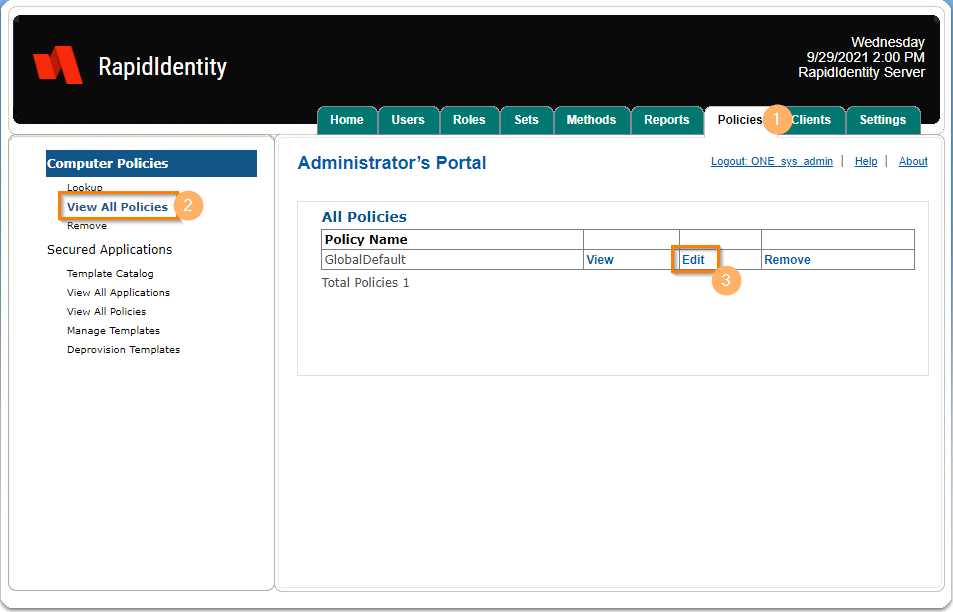
In your MFA Admin Portal, go to the Policies tab.
-
Select View All Policies on the left-hand side.
-
Next to the corresponding policy you wish to modify: Click Edit.
-
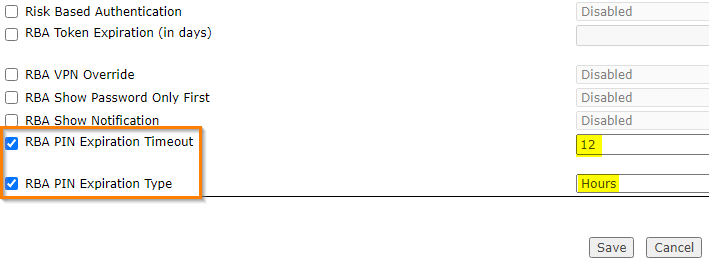
The policy will open up directly to the Logon tab - where we will need to be. There’s seven available options pertaining to RBA, but the bottom two are the only ones necessary for this configuration. Check the boxes to the following options and set the grace period’s window of time.
Step 2 - Configure The RBA Pin Policy
-
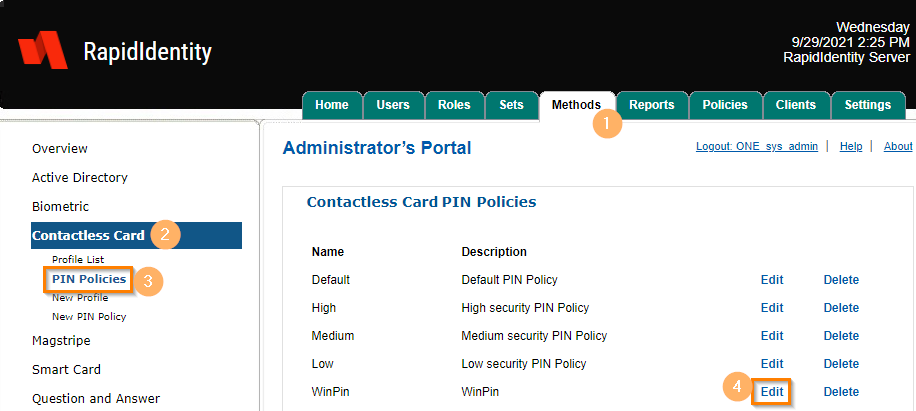
Click over to the Methods tab.
-
On the left-hand side, select your authentication method of which you will be creating or modifying PIN policies (in this example we will be using the Contactless Card method).
-
A new list underneath your method will appear. Select PIN Policies.
-
This example already has a custom PIN policy created. Next to your policy, click Edit.
-
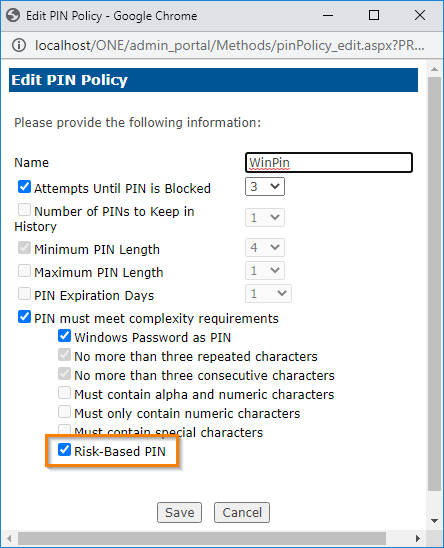
Regardless of your policy requirements, be sure that the Risk-Based PIN option is checked. Click Save.
-
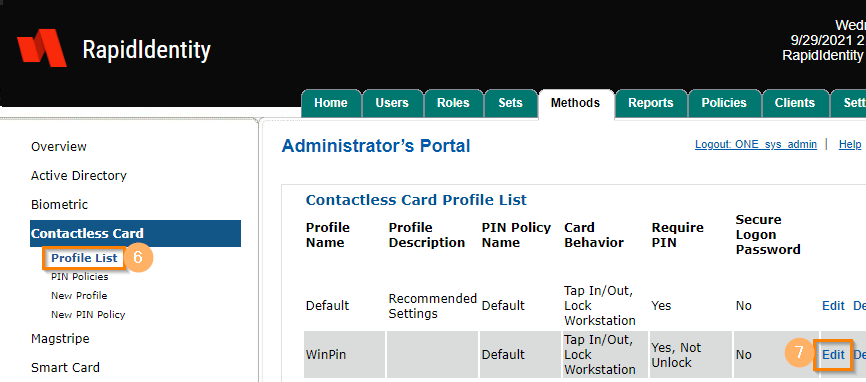
Return to the Profile List back on the left-hand side.
-
Next to a previously created or pre-existing PIN profile, select Edit.
-
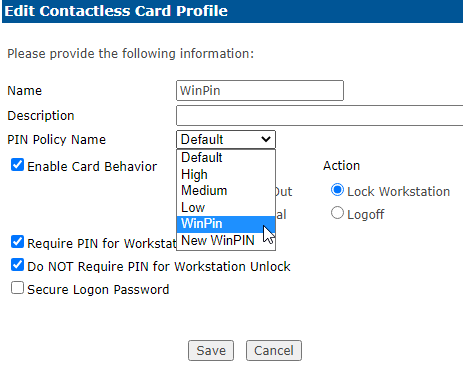
In the drop-down box for PIN Policy Name, select your RBA PIN Policy. Click
Save.
Step 3 - Applying The Policy To The Auth Set
-
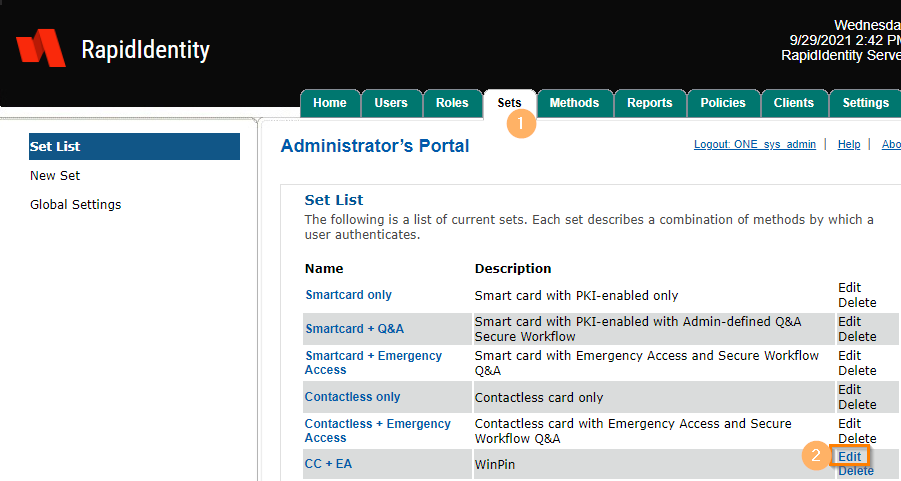
Go to the Sets tab.
-
Next to your current authentication set or newly created set, click Edit.
-
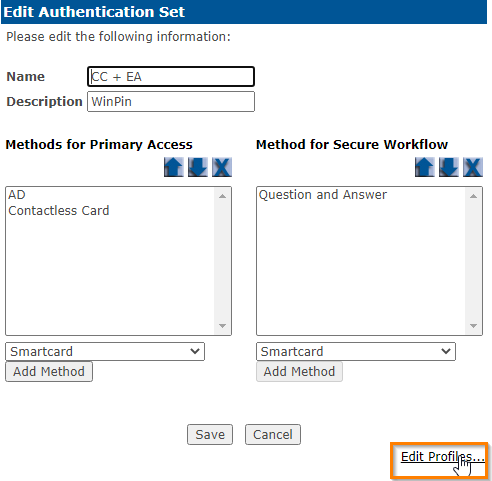
In the new pop-up window, click Edit Profiles… in the bottom right-hand corner.
-
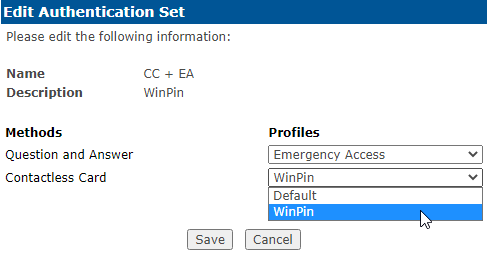
Under the authentication method the RBA PIN was created for, use the drop-down box to select your new PIN Profile. Click Save.
-
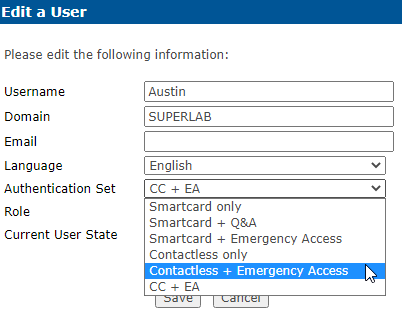
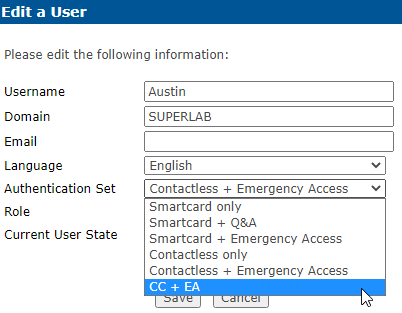
Apply this authentication set to your user(s) if it isn’t already. If the authentication
set is already in place, the change will not immediately take effect until the user and
computer can synchronize with the server again. You can speed this process up by manually opening their user, changing their auth set then flipping it back to the correct
set.