Be sure your FIDO profile and PIN policy have been set up before having your users enroll their tokens. To make sure you are set up or you need to learn more, please see our articles on Creating a PIN Policy or Configuring A FIDO Token Profile.
-
Through the Enrollment Tile or the desktop application, your FIDO enrollment will be done through the app's Enrollment Wizard.
-
Make sure your token is plugged into the computer before starting the enrollment process.
-
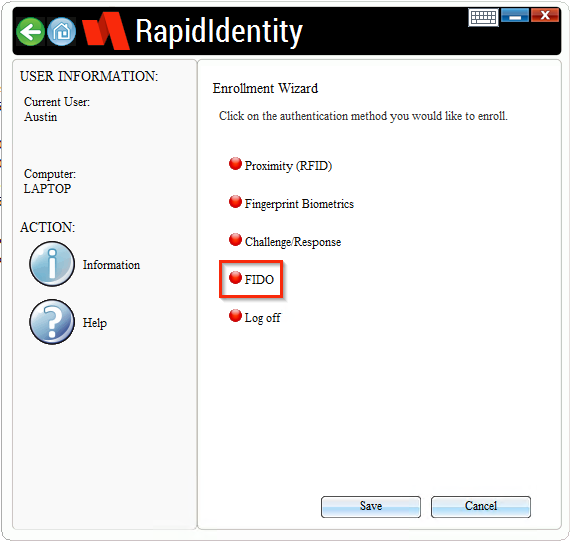
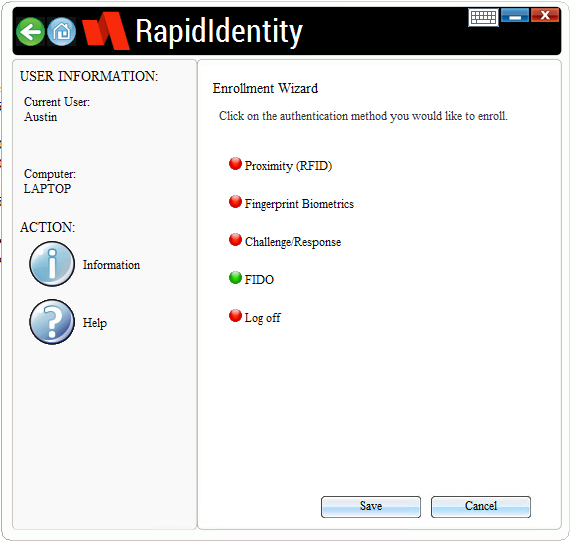
In the Enrollment Wizard page, select FIDO.
-
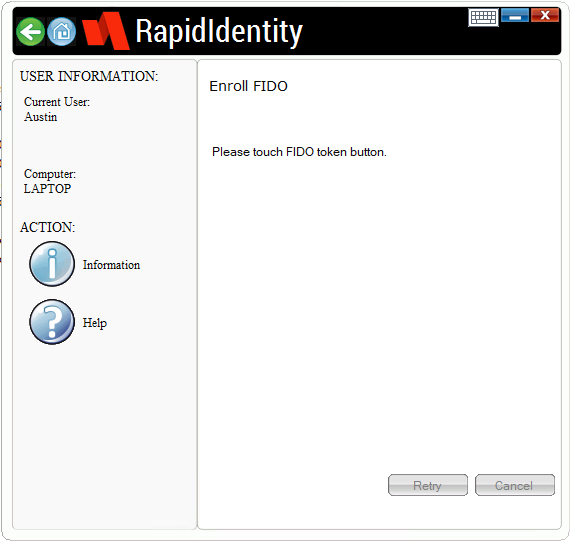
Follow the on-screen instructions to enroll your token.
-
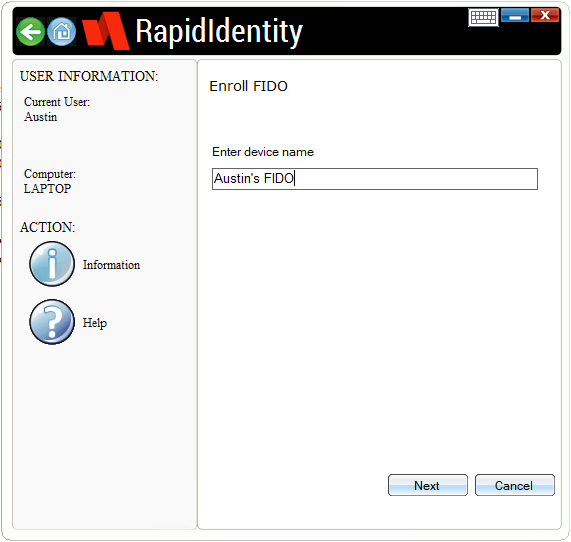
Enter a device name and click Next.
-
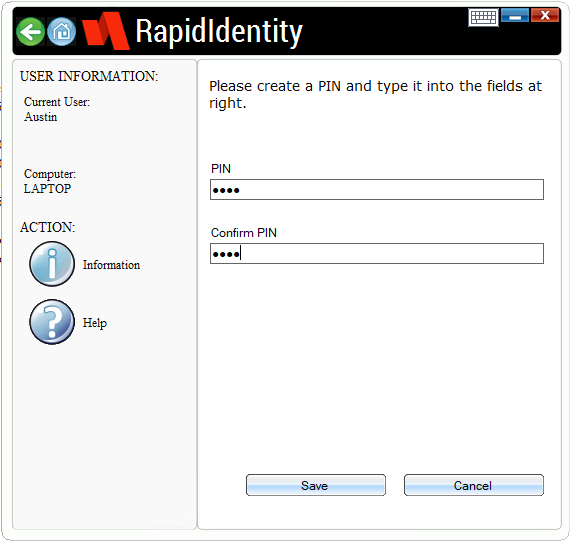
Enter and confirm your PIN and then click Save.
No Prompt for PIN InputIf your PIN policy is set to use 'Windows Password as PIN' option or no PIN at all, you will not be asked to enter a PIN and the 'Successfully enrolled' message will appear almost immediately.
-
Once complete, you will be brought back to the Enrollment Wizard's main page. Notice your FIDO option now appears green to show you've enrolled this authentication method. If you have no other enrollments to do, click Save.
-
If you are using the desktop application, you will receive one final pop-up. Clicking Yes will log you out of the entire Windows session; take care when answering.
It's not required to log off to complete enrollment.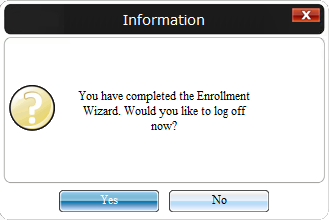
Troubleshooting
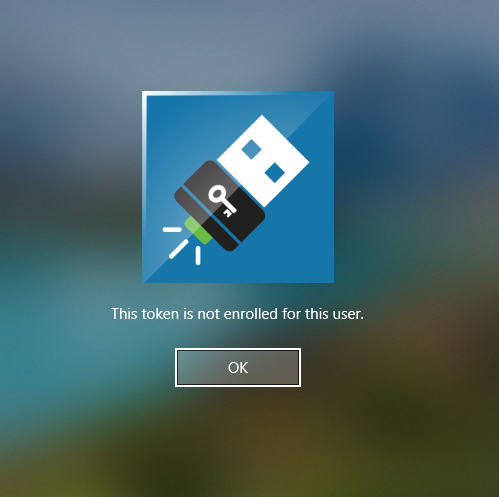
This token is not enrolled for this user
If you are receiving this error, check your current FIDO token. You are only allowed to have one FIDO token enrolled to your user at a time. This error will appear for all previous tokens except for the most recently registered.