By default, the MFA server installation is HTTP. It is possible to set up HTTPS either for extra security or PingMe authentication.
- SSL wildcard (*) certificate from a public certificate authority installed to your MFA server (for the public server and PingMe)
-- or -- - A self-signed certificate or one issued by your network's Certificate Authority if it's just an internal environment (internally issued certificates do not work for PingMe setups)
The file paths used in this article are under the assumption that your MFA server is on v4.9.5.1 or later. If it is not, it is strongly recommended to upgrade. Please see our server upgrade information page for more information and reach out to us if you have any more questions that it may not cover.
Part 1 - Set FQDN in all web.config files
There are 4 configuration files in the server installation path that must be updated. Each web.config file is located at:
- C:\Program Files\Identity Automation\RapidIdentity MFA\ api\
- C:\Program Files\Identity Automation\RapidIdentity MFA\ RestServices\
- C:\Program Files\Identity Automation\RapidIdentity MFA\ selfservicessite\
- C:\Program Files\Identity Automation\RapidIdentity MFA\ website\
- Open Notepad as an Administrator.
- Open any of the web.config files from the list above.
- In the file, you can find the server's current URL. This will typically be the original server name if it wasn't changed.
- Open the 'Replace' tool or use the keyboard shortcut Ctrl + h.
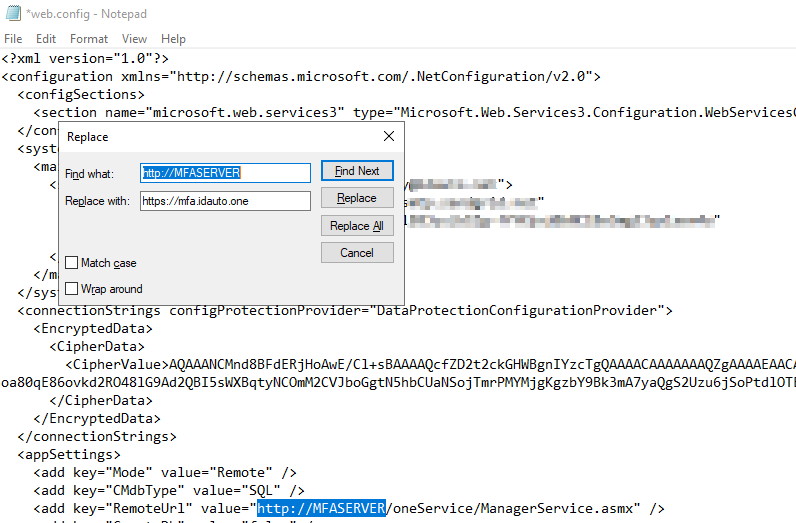
- Choose "Replace All" to update all of the occurrences of the HTTP URL to become your new HTTPS URL. It's recommended and easiest to just find the HTTP://servername and leave the trailing forward slash off—like the Step 4 example—in the search and replacement.
- Repeat Steps 3-5 for the remaining web.config files.
Part 2 - Update IIS Bindings
-
Open IIS.
-
Verify that your server certificate has been installed.
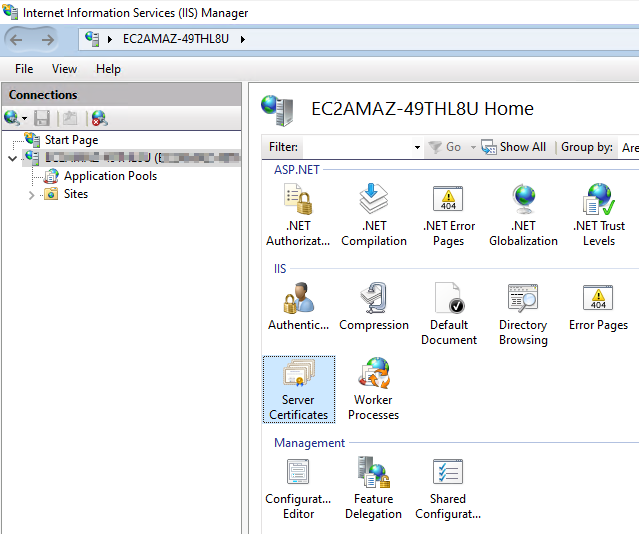
⬇️⬇️⬇️

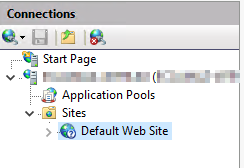
- Expand your IIS site > Sites > Default Web Site.
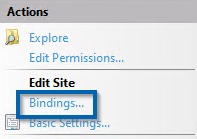
- On the right-hand side, click Bindings...
- In the Site Bindings pop-up, click "Add...".
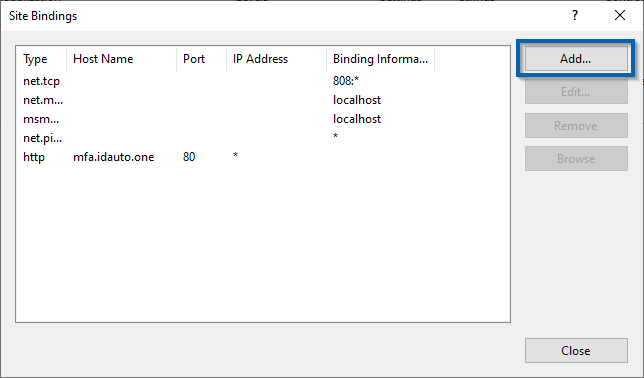
-
In the Add Site Binding pop-up, set the following:
a. Type: HTTPS
b. Host name: to the FQDN that was used in Part 1 for the web.config files
c. SSL certificate: use the dropdown box to select your certificate
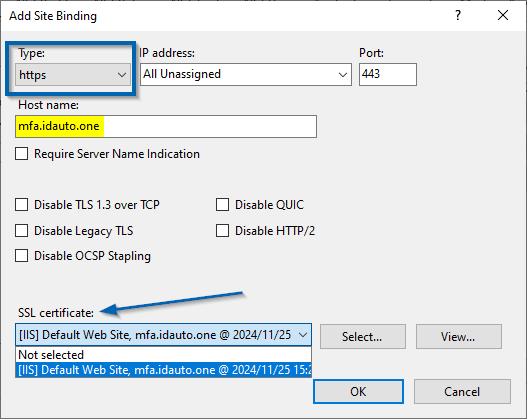
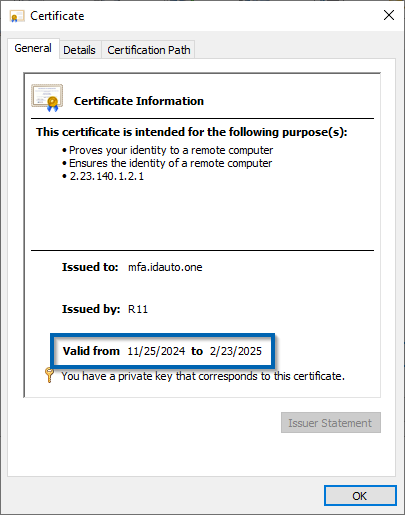
d. Once you've selected your certificate, you can click "View" to see and verify the certificate's information.
- Close out of the IIS binding windows and perform an IIS reset.
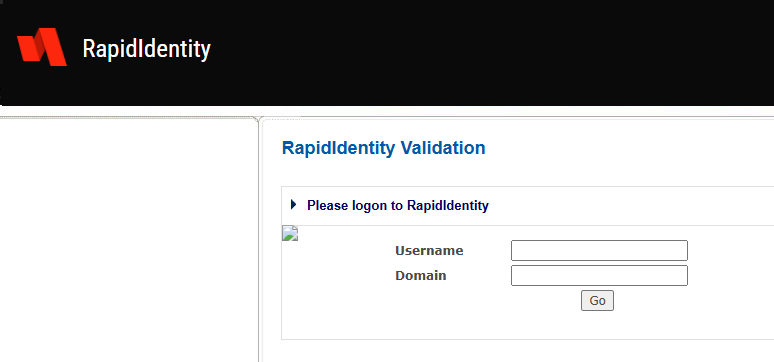
- Open up your Admin Portal to verify that you're able to log.
Troubleshooting
If you are getting the red text error "Your request cannot be processed..." when trying to log in to the Admin Portal, see our troubleshooting article. If the suggestions there do not help, please open a ticket with us for a Support Engineer to further assist you.
