IIS Configuration for PKI
- 29 Jan 2025
- 1 Minute to read
- Contributors

- Print
- DarkLight
IIS Configuration for PKI
- Updated on 29 Jan 2025
- 1 Minute to read
- Contributors
- Print
- DarkLight
Article summary
Did you find this summary helpful?
Thank you for your feedback!
Part 1 - Request Certificate
- Log into your MFA server as the Service Account to create a Windows profile.
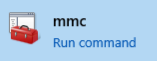
- Run the mmc.
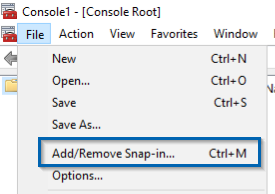
- Click on File > Add/Remove Snap-in...
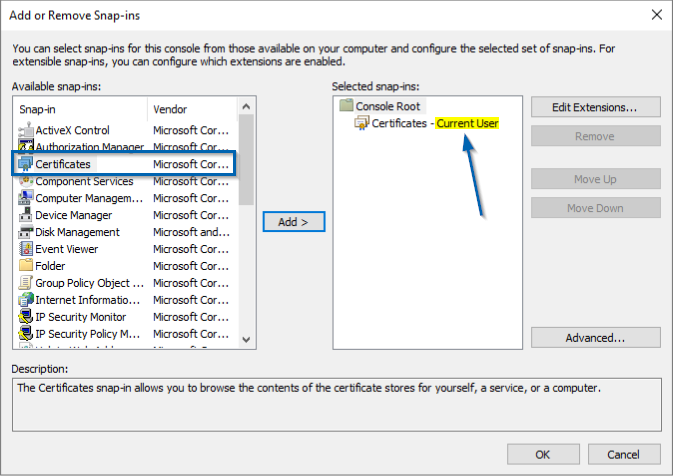
- On the left-hand side, highlight Certificates and click "Add". Select the option to add it as the "Current User".
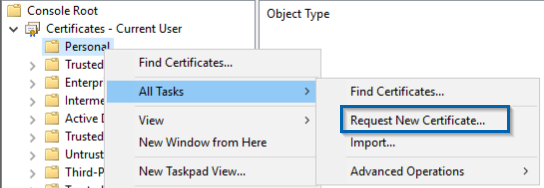
- With the Certificates snap-in loaded, expand Certificates and right-click Personal > All Tasks > Request New Certificate...
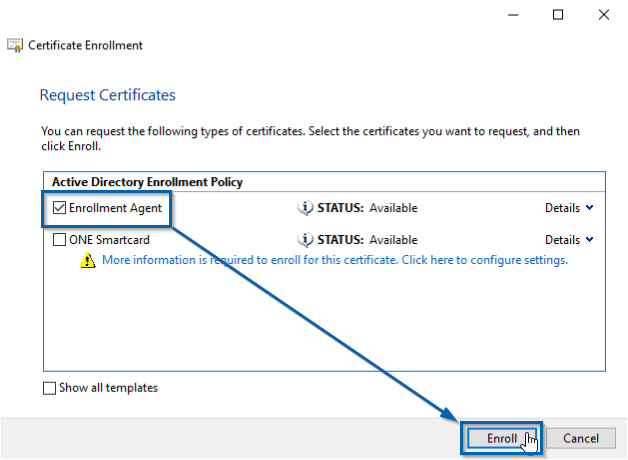
- Click through the wizard with "Next" until you reach the page where you can select your certificates. Select (✓) just your "Enrollment Agent" certificate and click "Enroll".
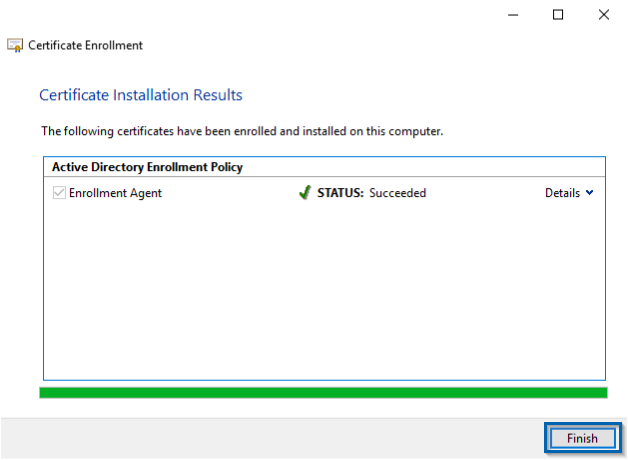
- When the enrollment completes, click "Finish".
- Log out of your Service Account's session on the server.
Part 2 - Update Install Path Security
Since the Service Account will be what is used for the IIS application pools, this part will be necessary to allow MFA server logs to run whenever they are set to run.
- Log back into your MFA server with an administrative account.
- Open your file explorer and navigate to:
C:\Program Files\ - Right-click on the
\Identity Automationfolder > Properties. - Go to the Security tab.
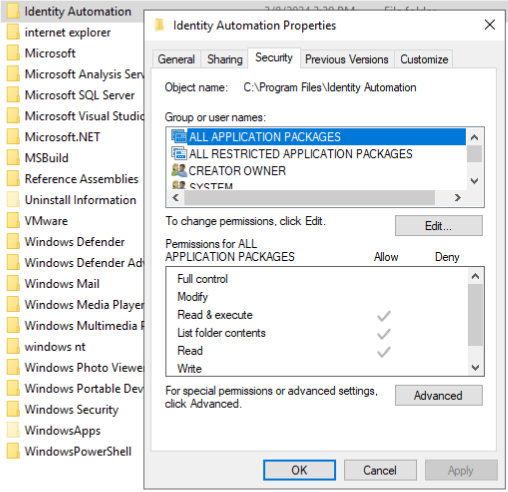
- Click "Edit..." and add your Service Account.
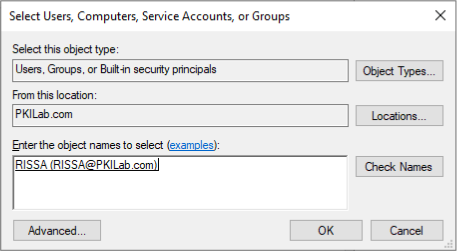
Give the account full control over the folder.
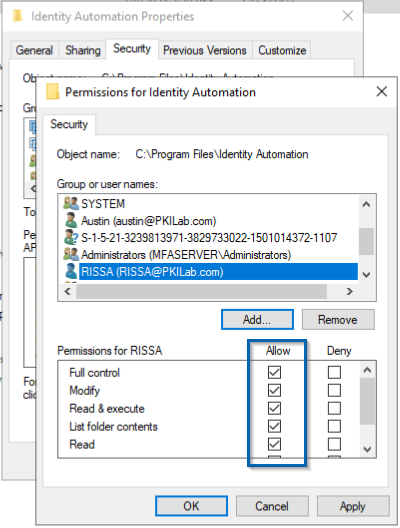
6a. Click "OK" when finished.
Click "OK" to finish with the folder's properties and security step.
Part 3 - Assign IIS Application Pools
- On your MFA server as an administrative account, open IIS.
- On the left-hand side, expand your server's name.
- Click on Application Pools.
- In the center pane, right-click on "oneAppPool40" > Advanced Settings...
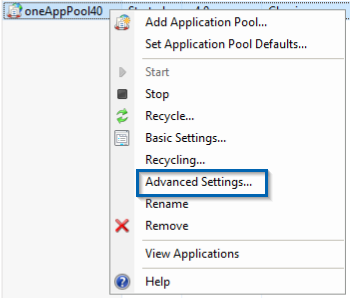
Scroll down to the Process Model section.
Click on the ellipses for Identity.
6a. A pop-up will appear. Select "Custom account" then click "Set..."
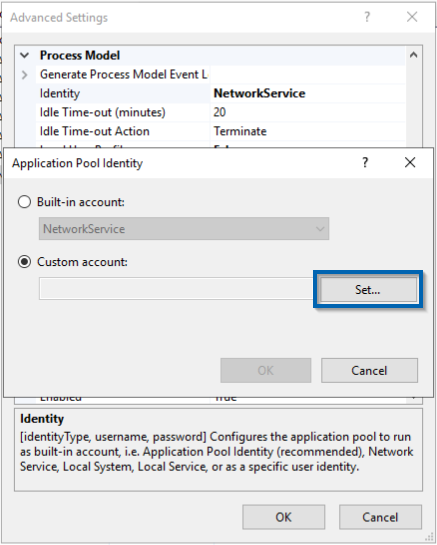
6b. In the next pop-up, enter your Service Account's credentials and click "OK" when finished. Be sure to include the domain.
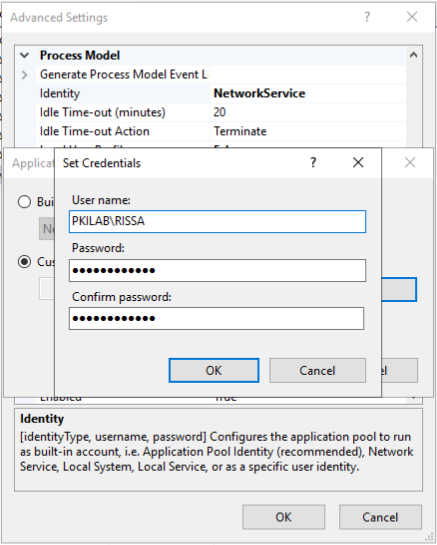
6c. Click "OK" to finish setting the identity.
Set Load User Profile to "True".
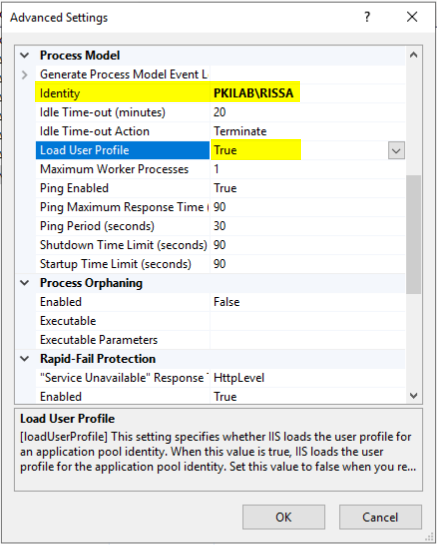
- Click "OK" to finish updating the advanced settings.
- Perform an iisreset.
You've completed all of the steps for IIS. You can now move on to the final part and Create A Smart Card Certificate Set!
Was this article helpful?