Fingerprints can be enrolled through the desktop or Enrollment Tile wizard.
-
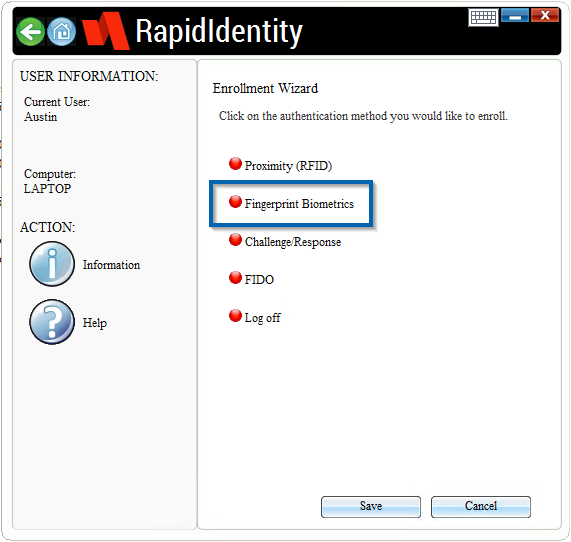
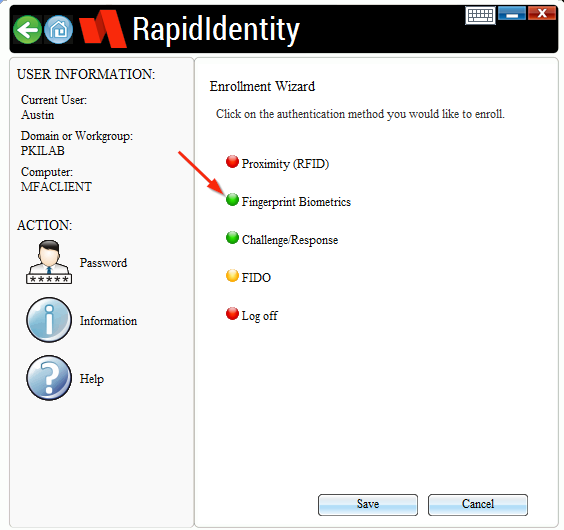
In the Enrollment Wizard, click the Fingerprint Biometrics option.
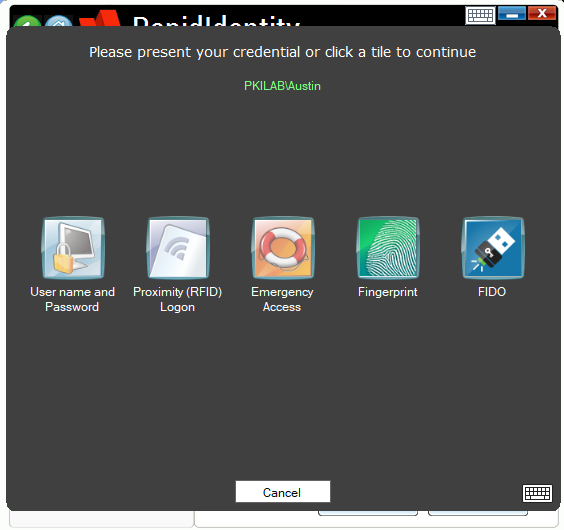
1a. If you are on the desktop application, it will ask you to re-authenticate.
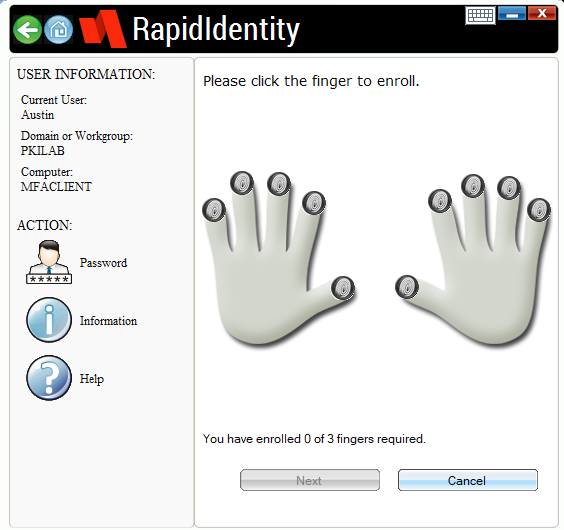
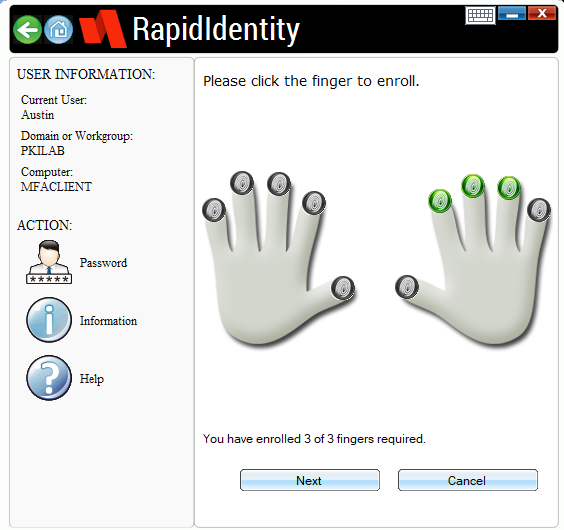
- The next screen will be your finger selection. Here you can pick any finger(s) to scan. The number of fingers required for enrollment is set by administration (seen at the bottom of the window).
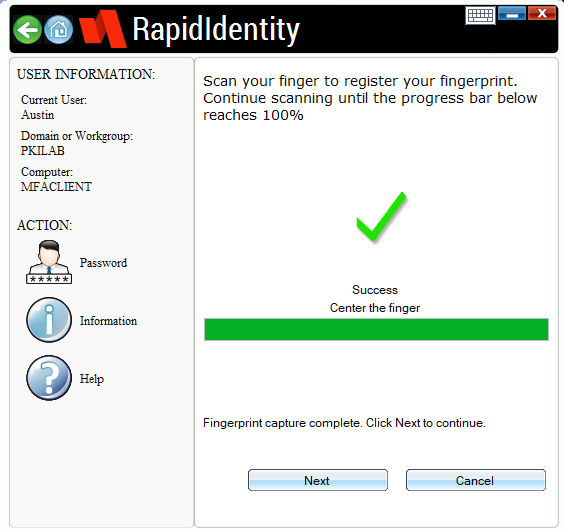
- Follow the on-screen prompts for each finger until you get a Success message, and click Next to save the finger you just enrolled.
-
Once all of your fingers are enrolled, hit Next.
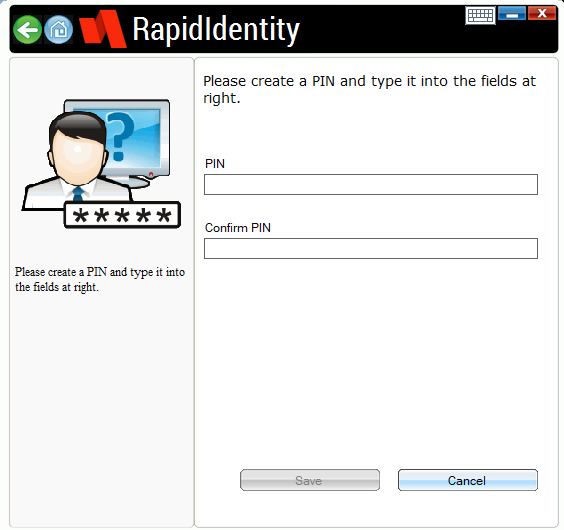
4a. If you are set up to use a numerical PIN, you'll be presented the following screen to create your PIN. This PIN will be used with any finger that you use to log into or unlock a workstation with.
- When complete, you'll be brought back to the main page of the Enrollment Wizard where you'll see that the light next to the fingerprint option is now green, indicating that the method is enrolled.
Additional Settings
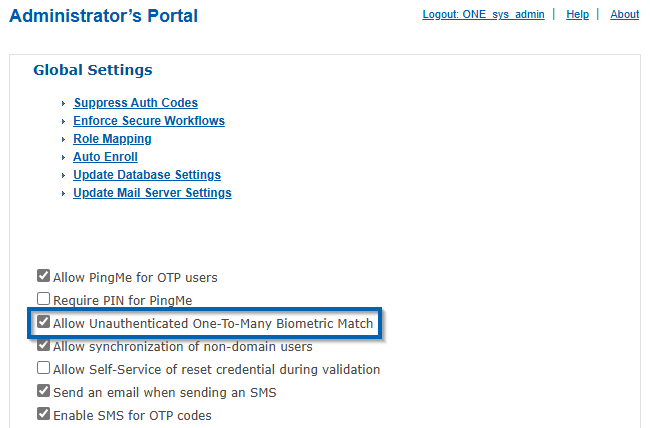
In the Admin Portal > Policies Tab > Hardware tab, check (✓) the box for Allow Unauthenticated One to Many Biometric Match and set the value to True. This allows users to walk up and swipe their finger without first entering a username.
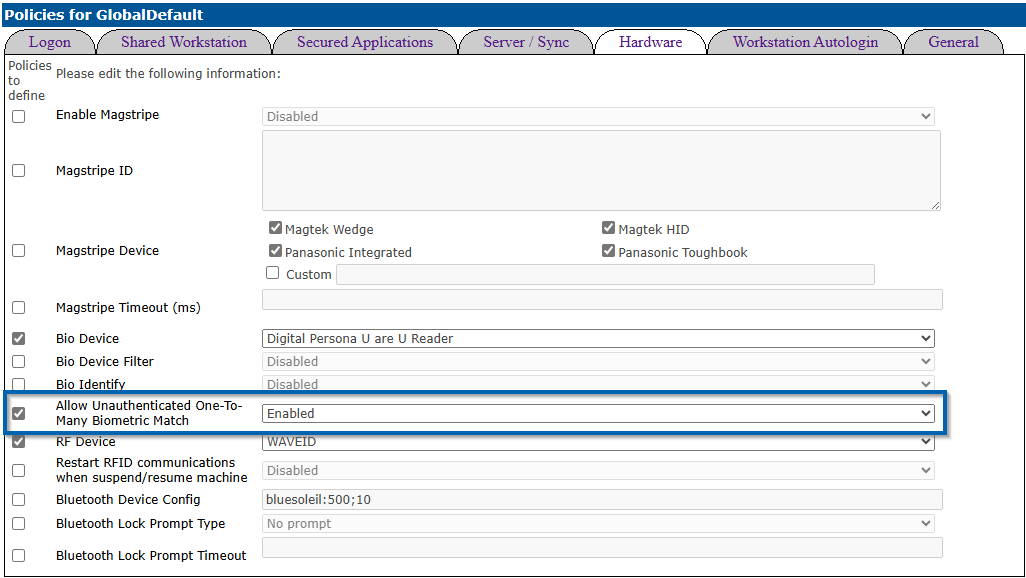
In the Settings tab, check (✓) the option Allow Unauthenticated One-To-Many Biometric Match. When enabled, the server compares the presented fingerprint template against the whole database of fingerprint templates and successfully authenticates if it matches. Click "Save" at the bottom of the page to confirm the change.
Troubleshooting
The most frequent error that appears on the client during enrollment is "Reader is not connected":
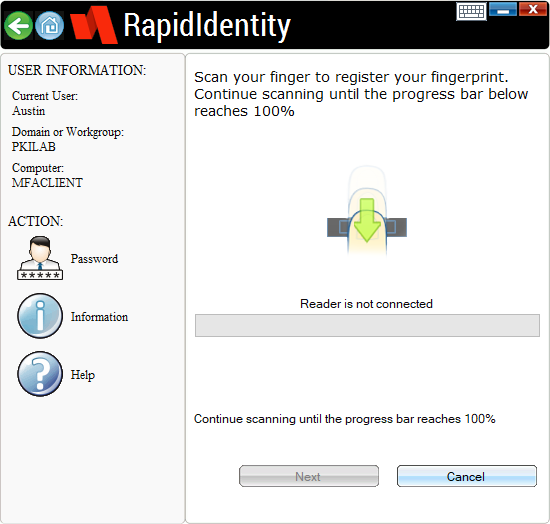
Things to check or try:
- Verify that the BioDevice setting/registry key has been set in the MFA Policy to match the device's make; See our registry settings article for all available biometric readers options
- If you are using a Digital Persona device, you may need to install the driver onto the client computer; Download the driver here
Embedded Readers
-
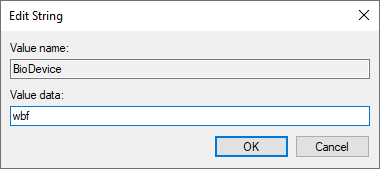
Make sure the BioDevice is set to "wbf"
-
If you are on MFA Client v4981, try rolling the client version back to an older version (this will require uninstalling the current client software and installing an older one)
