Create A Smart Card Certificate Set
- 30 Jan 2025
- 1 Minute to read
- Contributors

- Print
- DarkLight
Create A Smart Card Certificate Set
- Updated on 30 Jan 2025
- 1 Minute to read
- Contributors
- Print
- DarkLight
Article summary
Did you find this summary helpful?
Thank you for your feedback!
Part 1 - Create Certificate Set
- In the MFA Admin Portal, go to the Methods tab.
- On the left-hand side, click Smart Card > New Certificate Set.
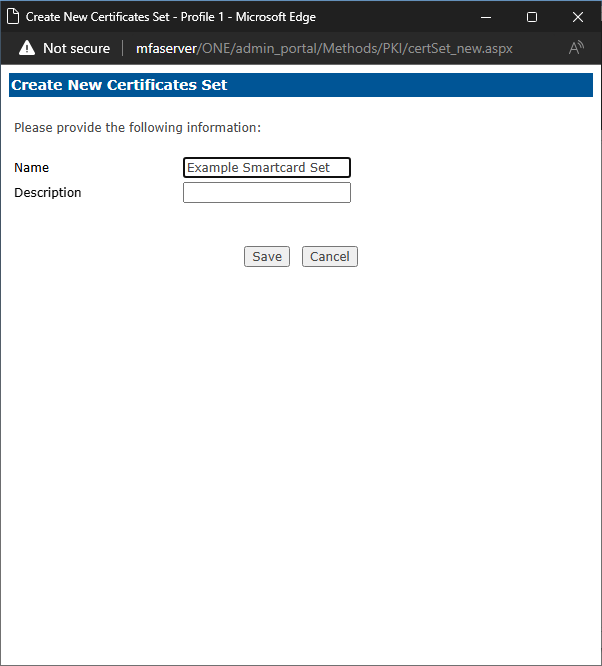
- A window will pop up to name the new certificate set will appear. Give your set a name (a description is not required) and click "Save".
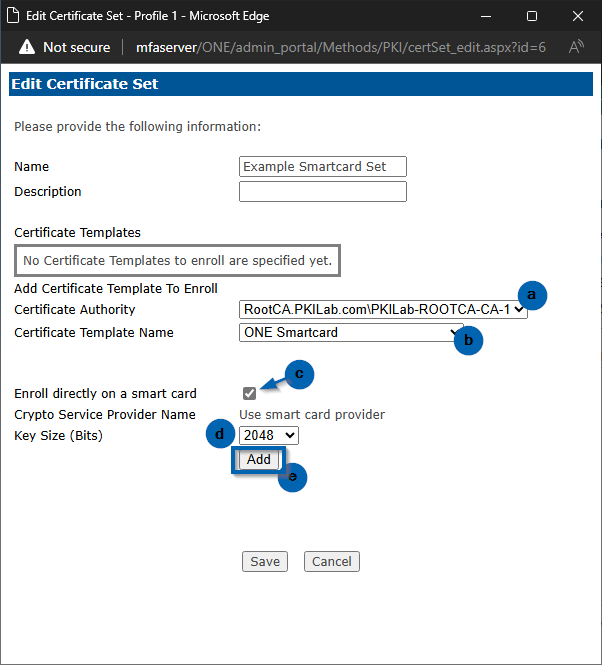
- On the Edit Certificate Set page:
4a. Use the drop-down to select your Certificate Authority.
4b. Use the next drop-down to select your smartcard template.
4c. Check (✓) the option Enroll directly on a smart card.
4d. Leave the default Key Size = 2048.
4e. Click "Add".
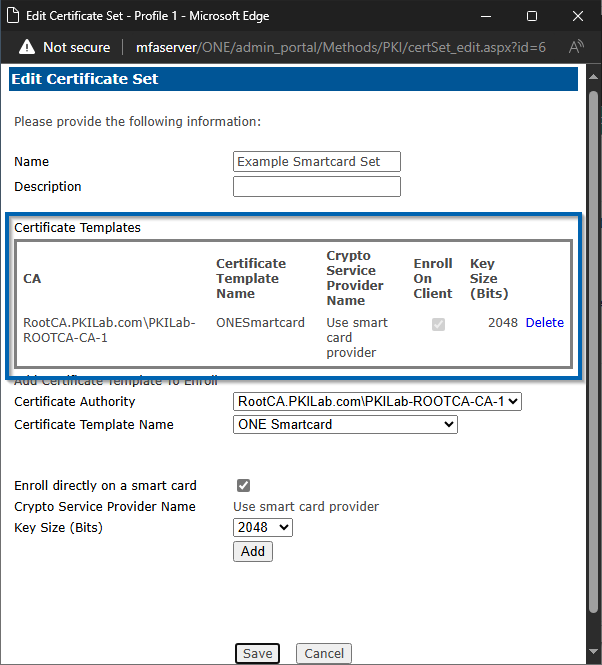
- You'll see your template appear with all of its information in the Certificate Templates section. Click "Save". The window will not close, but your certificate set did save. It's safe to exit out of this window.
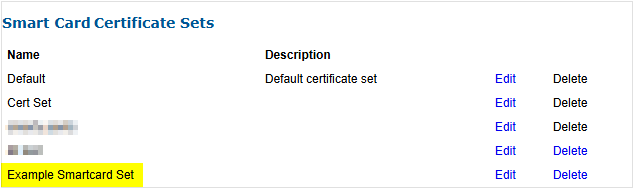
- If you do not immediately see your new certificate set in the list, refresh the page.
*Do not leave the Methods page yet. See the next part to finalize your certificate set setup.
Part 2 - Create A New Profile
The profile allows you to connect the new certificate set to the users' authentication set(s). These steps create a custom profile. While not required—you could just add your new cert set to the 'Default' profile—it's recommended to create a custom profile to help readability and know that it's your profile and set if you ever have to troubleshoot.
In the Methods tab, on the left-hand side, click New Profile.
In the new pop-window:
2a. Name your profile.
2b. Use the drop-down for Certificate Set Name and select your cert set created in Part 1.
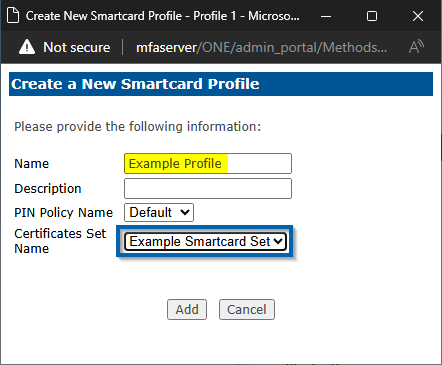
2c. Click "Add". The window will close out.
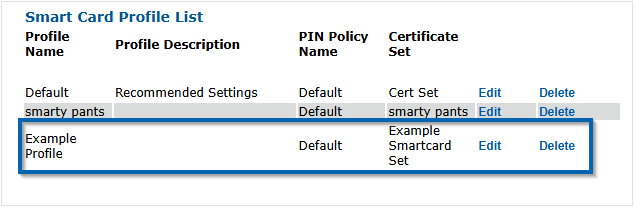
- Back on the left-hand side, click Profile List . You will see your new profile with the certificate set attached.
See our article for connecting the profile to your users' smartcard authentication set.
Was this article helpful?